Spring is in the air and it’s time to start prepping planter pots for your gardening season. Even though the weather might still be fickle where you are, there are some things you can do to get a jump start and be ready for spring planting. If you are container gardening this is the perfect time to start prepping your pots/containers so they are ready as soon as the weather turns.
It would be really tempting to take containers from the previous year, and just plant new plants in the old potting soil that’s not a wise choice. While it would save money and time the chances of having problems with your plants increases significantly. It’s best to start each growing season off with clean containers, and fresh potting soil.
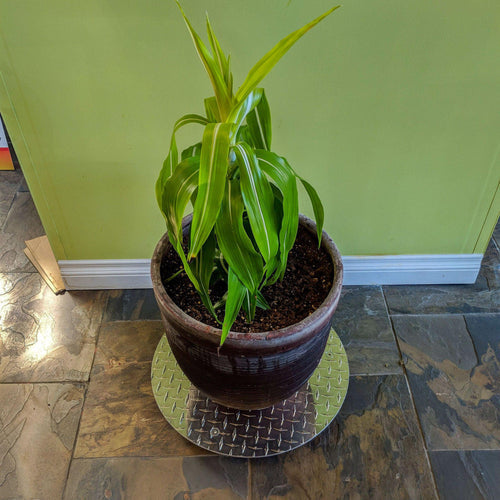
Cleaning Flower Pots
The first step in prepping for planting is making sure the pots are really clean. Empty all of the old potting soil out of them and scrub with a stiff scrub brush and clean water to remove the dried soil caked on the inside and outside of the pots. When the pots are clean, submerse them in a 10% bleach solution letting them soak for 10 minutes. Rinse plastic flower pots clean and allow them to dry in the sun. Rinse terra cotta pots with clean water, allow them to soak in fresh water for another 10 minutes, and then set them in the sun to dry.
Soaking them in a diluted bleach solution will ensure they are completely sterilized. If you had any bacterial or fungal problems in the previous season, the bleach will kill any problems that managed to survive the winter.
When pots are completely dry it’s time to fill them with potting soil.
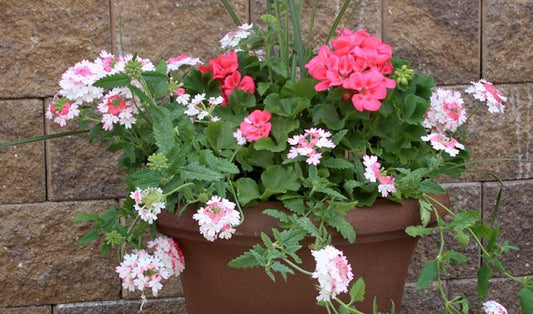
Filling with Potting Soil
A key component needed for successfully growing plants in containers is to start off the season by filling pots with high-quality, potting soil. You can either look for a commercial product that is light and airy in texture, consisting of peat moss, pine bark, and perlite or vermiculite or you can make your own mix using the listed ingredients.
Potting soil acts as a reservoir for moisture and nutrients around the roots of the plants, it provides “empty” space for air around the roots to allow them to breathe, and it supports the plants by anchoring the roots. If you start by filling your pots with a poor-quality potting mix, it’s not going to hold moisture and nutrients, and it won’t have the right structure to anchor the roots while letting them get enough oxygen. You may also have soil compaction in the bottom of the containers that impedes drainage out of the pots.
When to Avoid Fillers
If you are container gardening, or just landscaping your patio or deck with potted plants, it’s tempting to add fillers to take up space in the containers so less potting soil is needed. This is commonly recommended to decrease the weight of the pot, to decrease the cost of potting soil needed to fill it, and also to encourage better drainage of excess water out of the pots.
In some cases though, you should avoid putting fillers in your potted containers and solely use high-quality potting soil.
One of the most important times to avoid putting any kind of fillers in your containers is when growing plants that have large, extensive root systems or plants that form their edible portions below the soil surface (carrots, beets, potatoes, garlic, etc.). These plants will need as much space in the container as possible to stretch their roots out and grow. If plants like carrots and beets come in contact with an obstruction in the soil it will cause a deformation in the vegetable.
If all you have are materials that break down or rot such as newspaper, cardboard, paper cups or something similar it’s best to not use them as fillers and fill your containers with only potting soil. As they break down the potting soil will settle and sink down, causing compaction, and preventing good water movement through the root zone. There is also the chance they will introduce mold and bacteria into the potting soil as they decompose.
It’s common to add a rock layer at the bottom of gardening containers to help improve drainage out of the pot. If your containers do not have a drainage hole in the bottom it’s important you not add a rock layer. As water moves through the potting soil, it won’t begin to move down into the rocks until the potting soil is completely saturated. Since the rock layer is essentially making the root zone smaller in the pot, the roots will more quickly come in contact with the zone of water saturation where the potting soil and rocks meet.
If you have been putting fillers in your potted containers to help decrease the weight, making them easier to move invest in some heavy duty rolling plant caddies. The caddies are built with a low center of gravity to keep plants from tipping over, and rubber wheels offer a smooth, easy glide across any surface.
Before the weather clears up enough to start planting your container garden, there are plenty of things you can do with your pots to get them ready for the season. Start prepping early by making sure pots are cleaned and sterilized; then fill them with high-quality potting soil. After that, all you need to do is wait for warm weather to start planting!