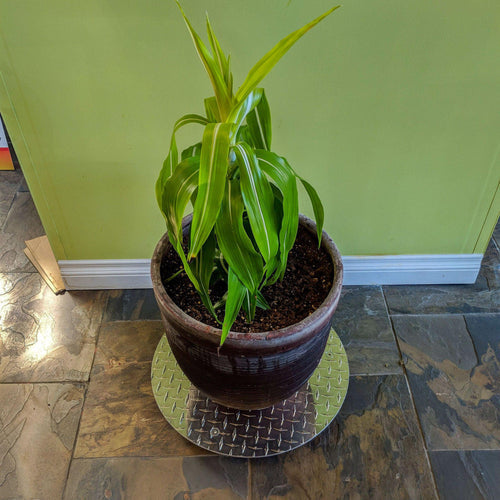
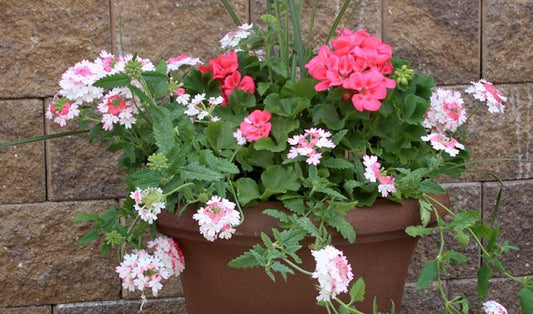
The most important part of container gardening is the soil used in the containers. To ensure good plant growth, it’s critical to start with high-quality potting soil that is rich in nutrients and has the structure needed for prolific root growth. Over time though, the nutrients are depleted from potting soil and need to be replaced, and other important properties such as pH and water holding capacity may change.
If you are reusing soil from year to year, it’s a smart idea to make sure the soil in your container garden is up to par at the beginning of the growing season before planting.
Potting soil, while it may seem like a simple component, plays many roles. It acts as a reservoir, holding moisture and nutrients around the plants’ roots. It provides airspace in the root zone to provide roots with oxygen to “breathe”. It also provides support and stabilizes the plants by anchoring their roots.
In order to get the most out of your container garden, it’s imperative the potting soil is good quality and can serve all the functions it’s supposed to.
Can You Reuse the Soil in Your Container Garden?
Commercial grade potting soil isn’t meant to be reused over and over, as it changes over time with its fertility decreasing. Over time, organic matter breaks down, resulting in a change in pH and the sources of nutrients in it are depleted either through plant uptake or leaching. Breakdown of organic matter will also affect the water holding capacity of the potting soil, causing it to retain less water.
That doesn’t mean you can’t reuse potting soil. Instead, it means you should check a couple of its qualities beforehand, amend if necessary, make sure it’s free of pests, and give it a good dose of fertilizer to replenish nutrients.
Checking the Quality of Your Soil
Normally, a soil would be tested to check the pH and the levels of plant essential nutrients (nitrogen, phosphorus, potassium, calcium, sulfur, magnesium, boron, manganese, zinc, molybdenum, iron, boron, chlorine, and nickel) to determine how fertile it is.
Unlike traditional mineral soils, potting soil is much more difficult to check the nutrient content of. Home soil testing kits won’t work efficiently, since the soil will absorb most of the solution you need to add from the kit, rendering results difficult to get. Sending a sample off to a lab for formal testing is cost prohibitive – it would be about the same price to purchase all new soil and start fresh.
DIY Potting Soil Test
A quick at-home test will give you an idea of what range the pH of your potting soil is at: take a small handful of your potting soil and add distilled water to it until it makes a liquid, soupy mud.- If you add vinegar to the mixture and it causes bubbling, your potting soil is alkaline and the pH needs to be lowered.
- If you add baking soda to the mixture and it bubbles, your potting soil is acidic, and the pH needs to come up.
- If it doesn’t do anything, in either case, your soil is fairly neutral.
It’s also important to check the water holding capacity of the soil before reusing it. Take some of your potting soil and fill a medium-sized container, then water it well, watching how quickly (or slowly) the water drains out the drainage holes.
Let it sit where your container garden will be for a couple days and then check on it. If it is still soggy, it needs to have construction grade sand or vermiculite added to make it more “fluffy” and allow the water to drain. Super dry potting soil would benefit from having a heavy dose of finished compost mixed in to add organic matter.
After you get an idea of what the soil pH and water holding capacity is, you can prepare your container garden soil to use in another season.
Improving Container Soil for Reuse
Before planting for the season, the best thing to do is to dump all of the container soil out and ameliorate it as one big pile. If you don’t have a large basin or tub to do this in, it’s possible to empty containers onto a large, clean tarp and use that as your work surface.
To facilitate moving large pots, heavy duty rolling plant caddies can be used to transport them easily around your yard without hurting yourself from the weight.
Here’s how to go about improving your container soil:
- First, make sure the container soil is free of debris and pests. Remove any errant roots, leaves, etc., that hung around from the last growing season. If there are visible insect pests, pick them out manually.
- Bake the soil in the sun to kill off any weed seeds, pathogens, or insects that may go undetected. The best way to do this is to bag it into black, plastic lawn bags and allow to sit in the sun until very warm.
- After the soil has baked, mix in decomposed compost or another form of organic matter to increase drainage capacity and improve structure. Mix in sand or vermiculite if the soil needs to be lighter so it drains better.
- Add an all-purpose, granular fertilizer – organic or conventional depending on your personal preference – to the potting soil after baking it to replenish depleted nutrients.
- Adjust pH if it’s not in the best range for the plants you are going to grow. It can be made more acidic through the addition of granular sulfur; it can be made more alkaline by adding garden limestone.
After you’ve baked the soil and spruced it back up so it’s nice and fertile again, fill up your containers and get to planting.
Conclusion
The soil used in your container garden is one of the most important attributes leading to how well your plants grow. Commercially purchased potting soils are formulated specifically to provide the nutrients plants need, with a light, airy structure that allows air circulation around the roots whilst supporting the plants upright.
Potting soil is meant to be used for a single growing season and then replaced, but it is possible to reuse it by making sure it is free of pests and diseases and testing the soil to check nutrient content before planting.
Happy gardening!